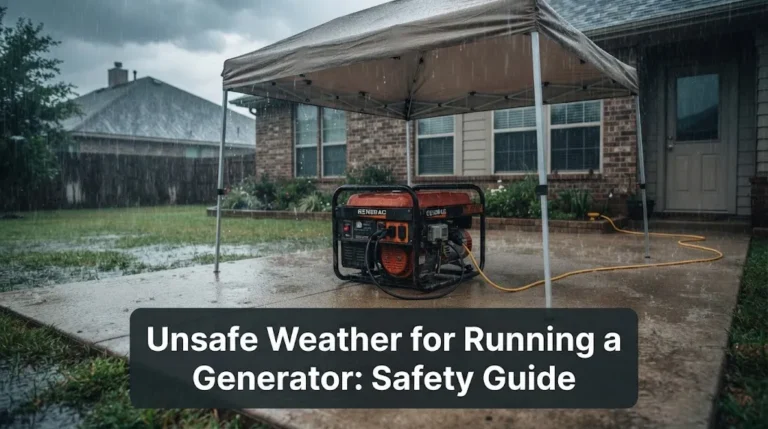
How to Build an Open-Sided Generator Shelter (DIY Guide)
Quick Answer
To build an open-sided generator shelter, construct a sturdy, elevated wooden or metal frame with a sloped roof to block rain, leaving at least two to three sides completely open for continuous cross-ventilation. Position the structure at least 15 to 20 feet away from doors, windows, and intake vents to prevent deadly carbon monoxide accumulation.
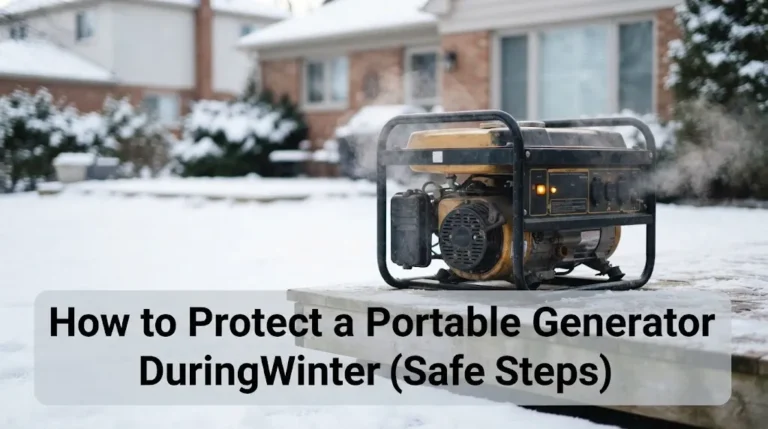
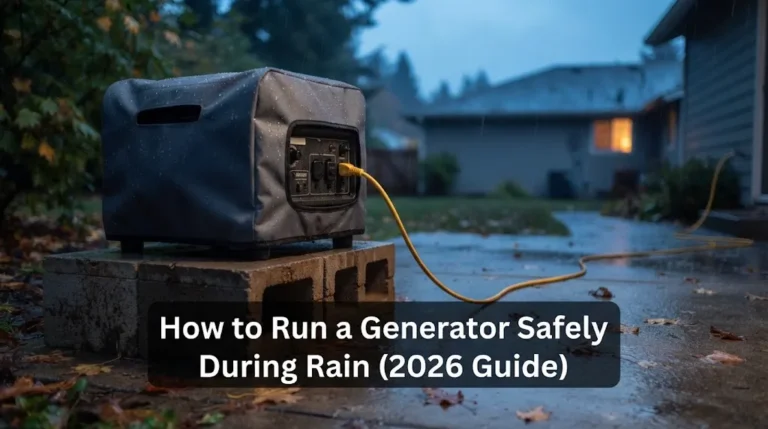
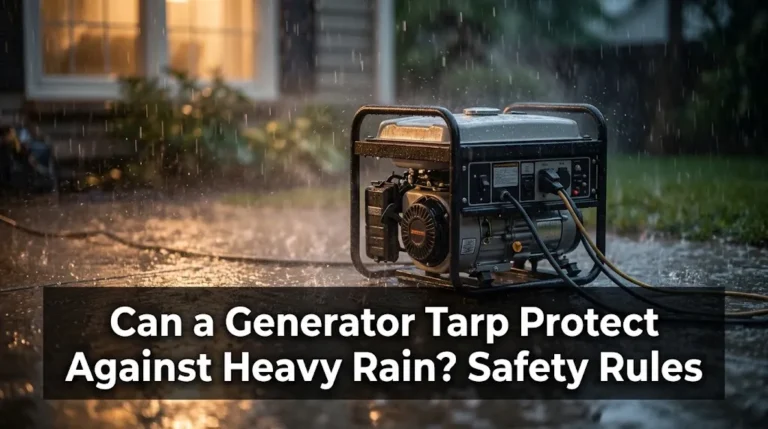
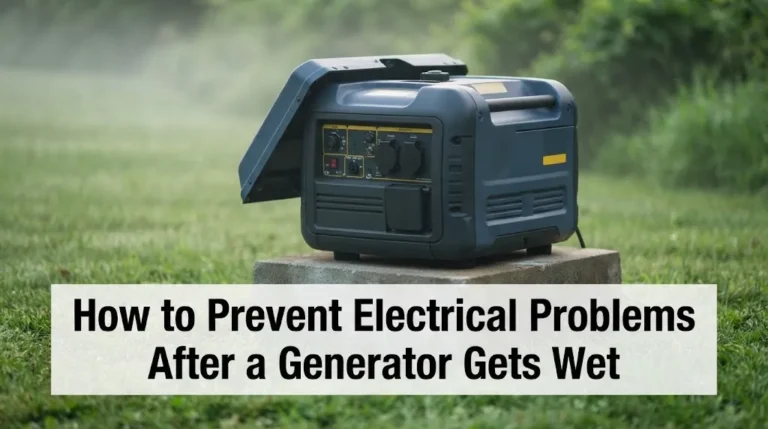
Running a portable generator during a power outage keeps essential appliances working, but exposing expensive equipment to heavy rain, snow, or direct scorching sun can cause severe damage or electrical failure. At the same time, enclosing a running generator in a tight shed or garage creates an immediate carbon monoxide poisoning hazard. An open-sided shelter strikes the necessary balance, offering robust overhead weather protection while maintaining the unrestricted airflow required for safe engine operation.
Why an Open-Sided Design Is Essential for Generator Safety
Portable generators produce immense amounts of exhaust containing carbon monoxide (CO)—a colorless, odorless gas that can incapacitate and kill humans and pets within minutes in enclosed or poorly ventilated spaces. Manufacturers mandate operating portable generators strictly outdoors in well-ventilated areas.
A fully enclosed shed traps exhaust fumes, creating a lethal trap even if the door is cracked open. An open-sided shelter uses a roof and partial windbreaks to shield sensitive electronics and engine components from precipitation while allowing cross-breezes to instantly disperse exhaust gases away from the structure.
Warning
Never operate a portable generator inside a garage, carport, crawlspace, or partially enclosed porch—even with the doors or windows wide open. Always position your shelter well away from structural openings.
Planning Your Generator Shelter Build
Before purchasing lumber, hardware, or roofing materials, evaluate your specific equipment size, local climate conditions, and property layout. Proper planning prevents structural sagging, moisture pooling, and fire hazards.
Determining Dimensions and Clearance
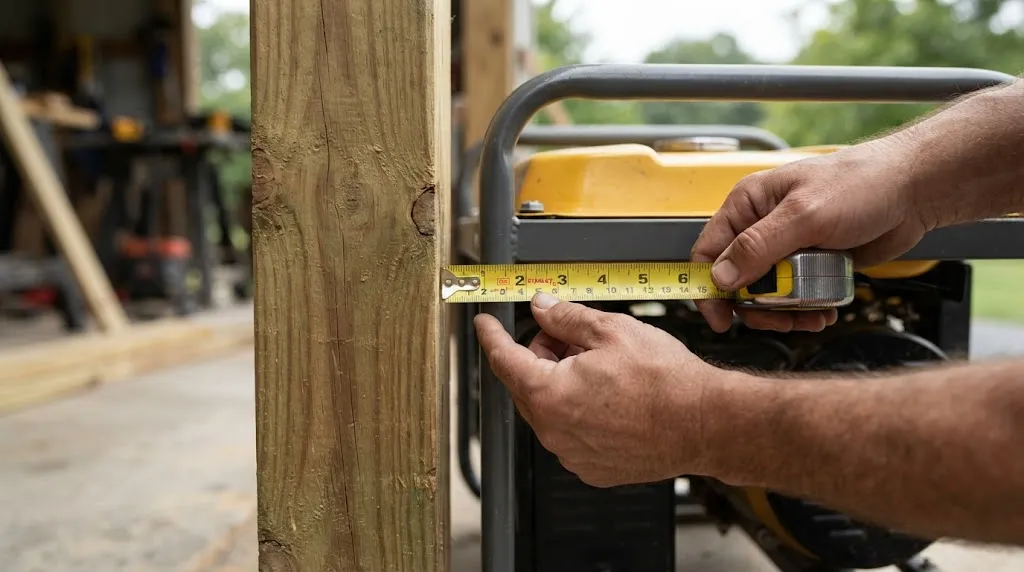
Measure your generator’s exact length, width, and height when running. Your shelter should leave at least 12 to 18 inches of clearance on all interior sides between the generator frame and structural posts. This ensures easy access for fueling, maintenance, and pull-starting while preventing hot exhaust mufflers from melting or scorching nearby wood supports.
Selecting the Right Placement
Position the shelter on a flat, elevated, and well-draining surface, such as a concrete pad, compacted gravel bed, or paved patio blocks. Avoid low spots where standing water pools during heavy storms. Maintain a strict minimum distance of 15 to 20 feet from your home, directing the engine exhaust muffler away from all windows, doors, and fresh air intake vents.
Materials and Tools Needed
Building a durable, weather-resistant wooden or metal-framed shelter requires standard carpentry tools and corrosion-resistant hardware designed to withstand outdoor elements.
- Pressure-treated 4×4 posts for structural corner supports
- Pressure-treated 2×4 boards for framing, wall ties, and roof rafters
- Exterior-grade plywood or corrugated metal roofing panels
- Galvanized post anchors, joist hangers, and exterior wood screws
- Heavy-duty concrete pavers or gravel for the base foundation
- Measuring tape, circular saw, drill, level, and safety gear
Step-by-Step Guide to Building the Shelter
Following a systematic construction sequence ensures your shelter remains rigid, square, and capable of withstanding heavy wind gusts and snow loads.
- Prepare the Foundation Base: Clear the chosen site of sod and debris. Lay down a compacted gravel bed or arrange heavy concrete pavers to create a level, dry platform that elevates the generator above ground-level moisture and mud.
- Set the Corner Posts: Cut your pressure-treated 4×4 posts to your desired height, allowing extra height at the front for a sloped roof design. Secure the posts using surface-mounted post brackets anchored directly into your concrete base or tamped footings.
- Build the Floor and Frame Base: Construct a stable 2×4 base frame anchored between the bottom of the posts to tie the structure together and prevent shifting.
- Construct the Roof Rafters: Build sloped roof rafters to ensure rain and snow slide off easily rather than pooling on top. Secure the rafters to the top plates of your vertical corner posts using heavy-duty exterior screws or hurricane ties.
- Install Roofing Panels: Attach corrugated metal panels or exterior-grade plywood topped with waterproof shingles to the roof framing. Ensure the roof overhangs the frame by at least 4 to 6 inches to keep driving rain away from the open sides.
- Add Safety Clearances and Heat Shielding: If any structural post or wall panel sits within 12 inches of the engine’s exhaust muffler, install an aluminum or galvanized steel heat shield standoff to protect the wood from radiant heat.
Weatherproofing and Maintenance Tips

An outdoor wooden structure requires proper sealing to prevent rot, warping, and insect damage. Apply an exterior waterproof wood stain or sealant to all exposed lumber surfaces once the build is complete. Periodically inspect roof brackets, anchor bolts, and structural fasteners after severe storms to ensure high winds haven’t loosened joints.
Tip
Keep a heavy-duty fire extinguisher mounted near the generator shelter site, and never store spare gasoline jugs directly inside or underneath the operating generator enclosure.
Related Product
Heavy-Duty Generator Cover & Accessories
Protect your portable generator from dust, moisture, and debris when not in use with a durable, weather-resistant storage cover.
As an Amazon Associate, we earn from qualifying purchases.
Frequently Asked Questions
Can I use plastic tarps as walls for a generator shelter?
Using flexible fabric or plastic tarps to enclose multiple sides of a generator shelter is strongly discouraged. Tarps can easily flap loose in high winds, catch fire if blown against a hot exhaust pipe, or restrict essential airflow, increasing the risk of carbon monoxide pooling.
How far away from the house should a generator shelter be?
Safety organizations and generator manufacturers recommend placing a running generator at least 15 to 20 feet away from your home, with the exhaust pointing directly away from doors, windows, and operable vents.
Do I need a building permit to build a generator shelter?
Small, unattached, open-sided structures typically do not require municipal building permits, but local zoning laws and homeowner association rules vary. Always check local setback requirements and property codes before starting construction.
How do I secure the generator inside the shelter against theft?
You can run a heavy-duty security chain or hardened steel cable through the generator’s steel frame and anchor it securely to a heavy concrete footer, poured slab, or embedded structural post.
Should the roof of the shelter be sloped?
Yes, a sloped roof is critical. A pitch allows heavy rain, melting ice, and snow to slide off easily, preventing water weight from pooling and compromising the structural integrity of the shelter.
Can I run the generator inside the shelter during heavy snowstorms?
Yes, provided the shelter features an open-air design with unobstructed sides that allow exhaust to escape freely. Ensure blowing snow does not accumulate around the base and block air intake vents on the generator unit.
Conclusion
Building an open-sided generator shelter is a practical weekend project that protects your investment from harsh weather while maintaining safe exhaust ventilation. By prioritizing proper placement, sturdy construction materials, and unobstructed airflow, you ensure reliable backup power performance whenever utility outages strike.

Hi, I’m Michael Turner. I own a generator workshop in the United States and founded HomeGeneratorBlog to share practical, hands-on guidance about generator installation, maintenance, troubleshooting, safety, and backup power solutions. My goal is to help homeowners make smarter, more confident decisions through clear and reliable information