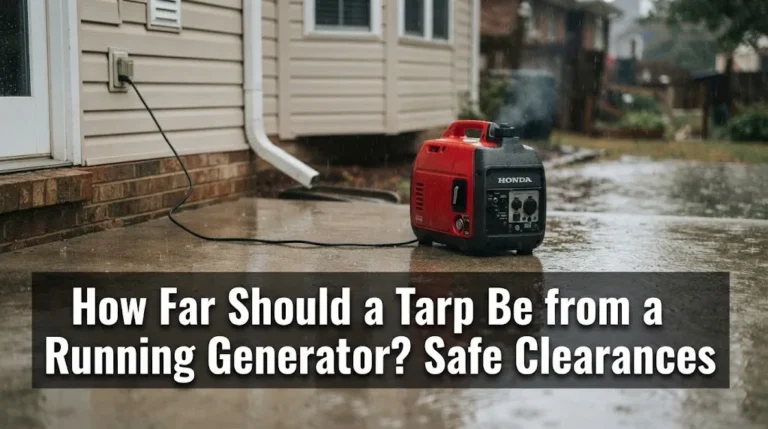
How to Inspect a Generator After Water Exposure: Safety Steps
Quick Answer
Do not attempt to start a generator that has been exposed to floodwaters, heavy pooling, or submersions until it has been completely disconnected from all power sources, thoroughly dried, and inspected. Attempting to run a water-damaged generator creates severe risks of electrical shock, internal short-circuiting, and permanent engine failure.
Understanding the Risks of Water-Damaged Generators
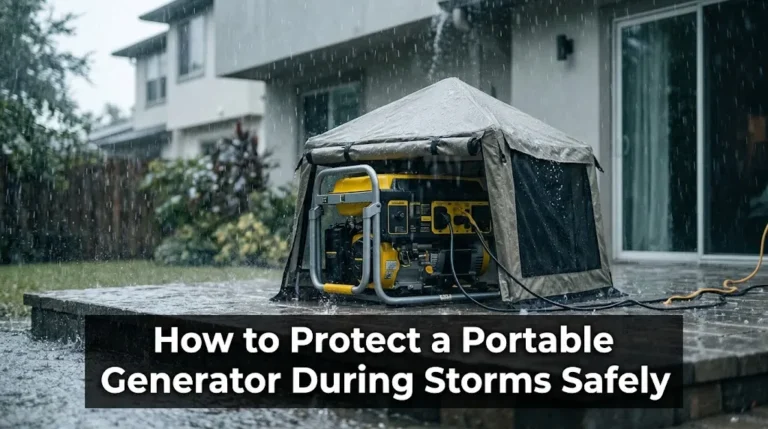
Water exposure is one of the most hazardous scenarios for any portable or standby generator. Whether your unit was caught in a flash flood, heavy storm surge, or persistent roof leak, moisture infiltrating the electrical windings, fuel system, and crankcase creates multiple failure modes.
When water mixes with residual fuel, oil, and organic silt from floodwaters, it leaves behind corrosive residue. If moisture penetrates the alternator stator and rotor, it breaks down the varnish insulation on the copper wire coils. Attempting to crank or start a wet generator can instantly short-circuit the electrical system, ruin the control panel, or create a fatal electrocution hazard for anyone touching the metal frame.
Evaluating a water-exposed unit requires a methodical, step-by-step inspection protocol. Rushing this process can turn a salvageable machine into scrap metal or introduce serious safety hazards.
Step 1: Prioritize Personal Safety and Disconnect All Power
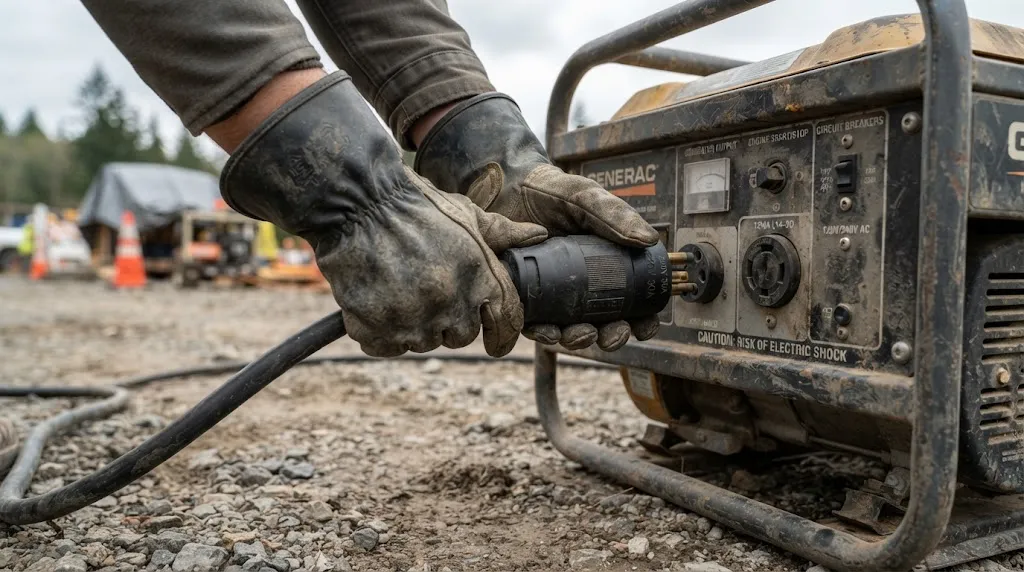
Before touching any part of a generator that has experienced water exposure, you must confirm that the environment is safe and the unit is entirely isolated from external power sources.
If the generator was wired to a transfer switch or connected to a home panel, ensure the main breaker is flipped off. Never wade into standing water near a generator if there is any chance that live electrical lines are submerged. Once you can safely reach the unit, disconnect all power cords, transfer switch cables, and external battery connections immediately.
Warning
Never attempt to operate or test a generator while standing in water or on damp ground. Wear rubber-soled boots and heavy-duty rubber gloves when handling a water-damaged unit.
Step 2: Inspect External Damage and Debris Accumulation
Move the generator to a dry, well-ventilated outdoor area if it is safe to do so. Begin with a comprehensive external visual assessment to gauge the severity of the exposure.
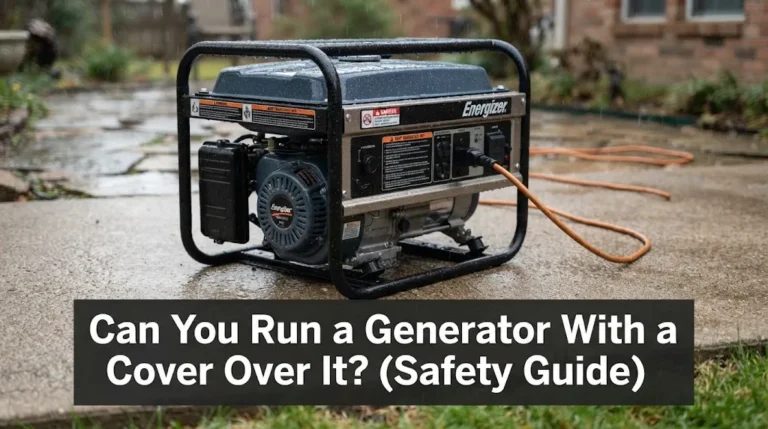
Note how high the water level reached by examining mud lines, discoloration on the frame, and debris trapped in the cooling louvers. If floodwaters rose above the alternator housing or engine block, internal contamination is guaranteed. Check the control panel for trapped moisture behind digital displays, outlets, and circuit breakers. Mud and silt often dry inside receptacles, creating hidden conductivity paths that can cause short circuits later.
Step 3: Check the Fuel System and Engine Oil
Water frequently enters fuel tanks and crankcases during severe weather events, ruining lubricants and degrading internal metal surfaces.
Inspect the engine oil dipstick. If the oil appears milky, cloudy, or has visible water droplets suspended in it, water has breached the crankcase. Running an engine with water-contaminated oil will instantly destroy bearings, cylinder walls, and piston rings due to a lack of proper lubrication.
Next, check the fuel tank. If the fuel cap was submerged or loose, rainwater or floodwater may have contaminated the gasoline or diesel inside. Look through the fill neck with a flashlight. Water is denser than fuel and will pool at the bottom of the tank. Inspect the fuel lines, fuel filter, and carburetor bowl for sediment, rust, and water accumulation.
How to Clear Water from the Engine Cylinder
If water entered through the exhaust or intake and reached the combustion chamber, pulling the recoil starter cord can cause catastrophic hydraulic lock (hydrolocking), bending the connecting rod.
To check for water in the cylinder safely:
- Disconnect the spark plug wire and remove the spark plug entirely.
- Place a clean rag over the spark plug hole to catch expelled liquid.
- Slowly pull the recoil starter rope a few times to force any trapped water out of the combustion chamber.
- Inspect the spark plug for fouling, rust, or internal ceramic cracks. Replace it if moisture penetrated the gap.
Step 4: Inspect the Alternator Windings and Electrical Components
The alternator head houses the stator and rotor, which generate electricity. When water and silt infiltrate these components, they require specialized cleaning and drying.
Remove the protective end cover of the alternator housing to inspect the windings. If you see thick mud, rust, or heavy mineral deposits, the unit must be thoroughly washed with clean water or an electrical contact cleaner, then completely dried before reassembly. Trapped moisture between winding turns will cause insulation breakdown the moment voltage is applied.
Inspect all electrical wiring harnesses, terminal connections, and circuit breakers for signs of corrosion. Green or white powdery buildup indicates oxidation that must be cleaned or replaced to ensure reliable electrical conductivity.
Tip
Using a specialized electrical contact cleaner and a heat gun on a low setting can help speed up the drying process for control panel switches and wiring connectors.
Step 5: Perform Cleaning, Flushing, and Fluid Replacement
Once you have identified the extent of the water exposure, you can begin remediation for moderately affected units:
- Drain and flush the fuel tank: Completely empty contaminated fuel into an approved container. Rinse the tank with fresh fuel, let it dry, and refill with clean, stabilized gasoline.
- Clean the carburetor: Remove the carburetor float bowl, clean out any silt or gummy residue, and ensure jets are unobstructed.
- Change the engine oil: Drain all contaminated oil from the crankcase. Fill with fresh oil to the proper level, run the engine briefly to capture residual moisture, and drain it a second time if heavy contamination persists.
- Replace air filters: Paper elements soaked in water or mud cannot be dried effectively and must be replaced.
Step 6: When to Repair Versus When to Replace
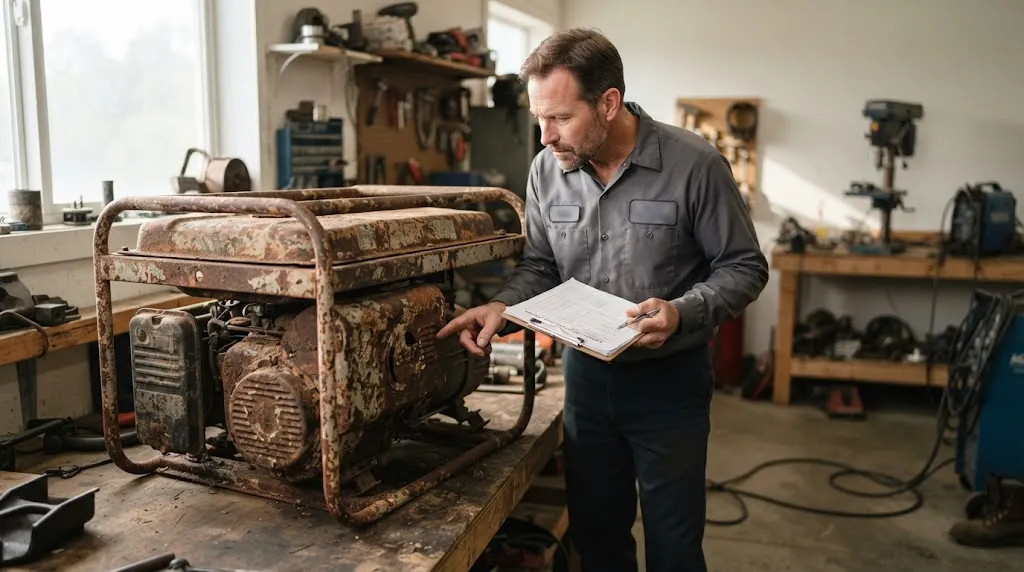
Not every water-damaged generator is worth repairing. You must weigh the repair costs and safety risks carefully before investing time and money into a flooded unit.
If the generator was submerged in saltwater, the aggressive corrosive action of salt makes repair nearly impossible for internal electrical windings and control modules. Similarly, if the cost of replacement parts (such as a new stator, control board, or carburetor assembly) exceeds half the price of a new unit, replacement is the safer, more economical choice.
Units that experienced only minor splashing or rain exposure without submerging the alternator or engine crankcase are usually safe to service and restore following a thorough drying phase.
Related Product
Digital Multimeter and Electrical Testing Tools
A reliable digital multimeter is essential for testing continuity, checking resistance in generator windings, and verifying output voltage safely after maintenance.
As an Amazon Associate, we earn from qualifying purchases.
Frequently Asked Questions
Can I start my generator after it gets rained on?
Light rain exposure usually does not damage a running generator if it is set up in a well-ventilated, covered area. However, heavy downpours that flood the control panel or enter the alternator ventilation grates require a complete shutdown and inspection before restarting.
What happens if water gets into the generator fuel tank?
Water contamination causes sputtering, engine stalling, and potential rust formation inside the carburetor and fuel lines. You must drain the entire fuel system, flush the tank, and refill it with clean fuel before attempting to run the motor again.
How long does it take for a flooded generator to dry out?
Natural air drying in a warm, low-humidity environment typically takes between 48 to 72 hours. You can accelerate this process using a low-heat blow dryer or portable fans directed into the alternator housing and control panel vents.
Is it safe to use a generator after a saltwater flood?
Generally, no. Saltwater leaves behind conductive and highly corrosive mineral deposits that rapidly deteriorate electrical copper windings, bearings, and circuit boards. Repairing a saltwater-submerged generator is rarely cost-effective or reliable.
How do I test if the generator’s electrical system is safe?
Use a digital multimeter to check the insulation resistance between the generator terminals and the metal frame. Any reading showing low resistance or a short circuit indicates that the windings are still damp or damaged and unsafe to operate.
Should I hire a professional technician to inspect my generator?
Yes, if the generator was completely submerged or experienced heavy floodwater infiltration, professional evaluation by a certified technician ensures that hidden electrical faults, damaged insulation, and internal wear are properly addressed before use.
Conclusion
Inspecting a generator after water exposure requires patience, caution, and strict adherence to safety protocols. Rushing to start a wet or contaminated generator can lead to permanent electrical failure, severe component damage, or dangerous electrical hazards. By systematically inspecting external damage, cleaning the fuel system, ensuring complete internal drying, and verifying electrical integrity, you can safely determine whether your generator is ready to provide reliable backup power or if replacement is necessary.

Hi, I’m Michael Turner. I own a generator workshop in the United States and founded HomeGeneratorBlog to share practical, hands-on guidance about generator installation, maintenance, troubleshooting, safety, and backup power solutions. My goal is to help homeowners make smarter, more confident decisions through clear and reliable information