
Portable Generator AVR: Symptoms, Testing & Fixes
Quick answer: The AVR (automatic voltage regulator) keeps your generator’s output steady by adjusting the excitation current to the rotor. A bad AVR usually shows up as dim or flickering lights, no power output, or voltage that surges and sags under load. Most units under 10kW use a simple plug-and-play AVR that costs $20–$100 and takes 20–30 minutes to swap once you’ve confirmed it’s the actual problem.
If your generator engine runs fine but the power coming out of the outlets is weak, unstable, or missing entirely, the AVR is one of the first parts worth checking. I learned this the hard way the first time a customer’s 6500-watt open-frame unit dimmed every bulb in the house the second the fridge compressor kicked on — turned out the AVR’s voltage-sensing wire had corroded loose, not the alternator like I’d assumed.
This guide walks through what the AVR actually does, the exact symptoms of a failing one, how to test it safely, and how to replace it yourself if that’s what it needs.
What Is a Generator AVR?
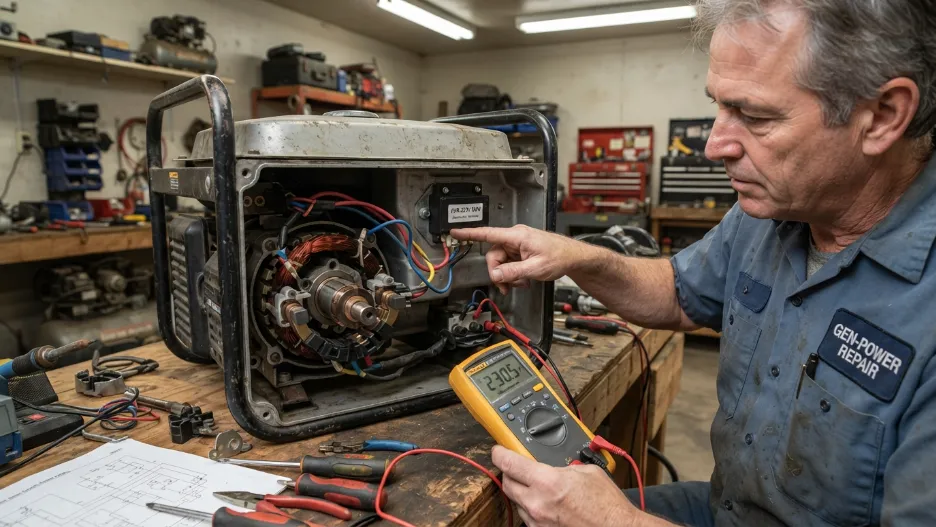
An automatic voltage regulator is a small electronic module that watches your generator’s output voltage and adjusts the excitation current flowing to the rotor to keep that voltage steady. It works by sensing the voltage at the generating coil and comparing it against a stable internal reference.
Think of it as cruise control for your generator’s electricity. Without it, voltage would sag every time you plugged in something with a motor — a shop vac, a fridge, a well pump — and spike back up when that load switched off. Left unchecked, those swings damage sensitive electronics fast.
Most portable generators under about 10kW use a “brushed” alternator with a physical AVR module and carbon brushes riding on slip rings. Inverter generators regulate voltage electronically through their inverter circuitry instead, so a lot of this guide (especially the physical AVR swap) doesn’t apply to them. If you’re still deciding between generator types, our guide breaks down the tradeoffs in more detail.
Symptoms of a Bad Generator AVR
Here’s the diagnostic table I use on service calls. Match your symptom to the likely cause before you start pulling covers off.
| Symptom | Likely Cause | First Fix to Try |
|---|---|---|
| Engine runs, zero output | AVR not sending excitation current, or a blown fuse in the excitation circuit | Flash the field (see below), check inline fuse |
| Lights dim/brighten randomly under load | Weak or failing AVR losing regulation control | Multimeter test under a light load |
| Very low voltage (40–80V instead of ~120V) | AVR undersupplying field current, or worn brushes | Test brushes and slip rings first — they’re cheaper |
| Voltage climbs too high (200V+) | AVR stuck feeding excess field current | Stop use immediately, unplug everything, test before running again |
| Appliances/electronics burning out repeatedly | Sustained overvoltage from a failing AVR | Voltage test before running anything else on it |
| Burning smell or scorch marks near the alternator | Overheated/shorted AVR or capacitor | Stop, inspect visually, replace — don’t test live |
A faulty AVR is one of the most common single-part causes behind unstable output, but it isn’t the only one. Without specialist gear, testing AVRs and capacitors in an absolute, conclusive sense isn’t really possible — a multimeter will tell you a lot, but a regulator can test fine at low load and still fail once the engine is under real demand.
How to Test a Portable Generator AVR
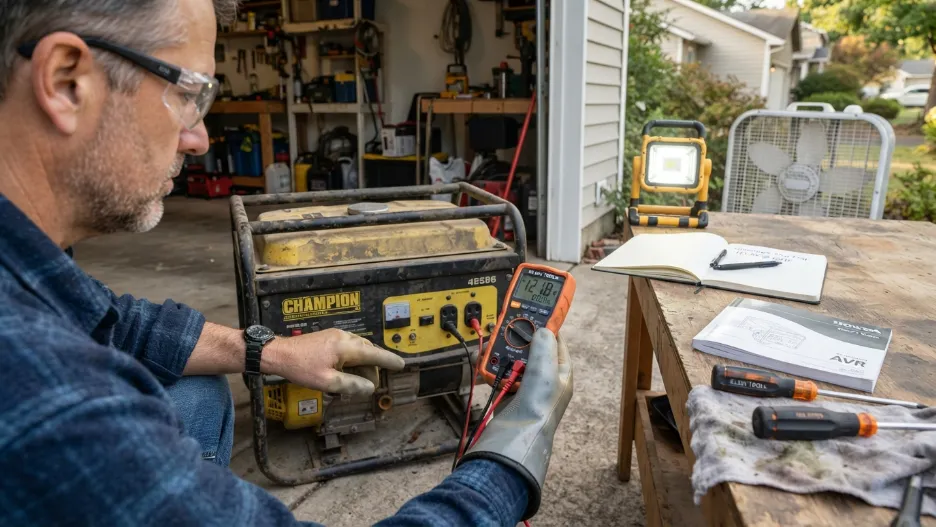
You don’t need a lab to get a strong read on whether the AVR is the culprit. Here’s the sequence I follow before condemning the part.
1. Rule out the easy stuff first
Reset every breaker and GFCI outlet on the panel. Plug a simple test load — a work light or box fan — straight into a 120V outlet and see if it runs. A tripped breaker or bad cord gets mistaken for AVR failure constantly.
2. Measure voltage at the outlet
With the generator warmed up and no load connected, set a digital multimeter to AC volts and check a 120V outlet. You’re looking for something close to the rated voltage — on a typical 5000-watt-plus unit, that’s roughly 120–125V per leg, depending on model. Wildly low, wildly high, or jumping readings point straight at the excitation system.
3. Try flashing the field
If you’re getting zero output with the engine running fine, a quick “flash” can confirm whether the AVR has simply lost its residual magnetism or whether it’s actually dead. This involves briefly applying a 12V source to the field windings per your model’s service instructions — check your owner’s manual for the exact procedure, since polarity and wire ID matter here. If voltage returns and holds, the rest of the system is healthy; if it drops right back to zero, the AVR itself is the problem.
4. Add a load and watch for drift
Plug in a fan or work light, then gradually add more. Stable voltage that holds steady as load increases means the AVR is doing its job. Voltage that sags, climbs, or oscillates as load changes is the clearest sign of a dying regulator.
5. Check the brushes while you’re in there
Worn carbon brushes or corroded slip rings mimic AVR failure almost exactly — intermittent or no output. If you’re already pulling the end cover to reach the AVR, inspect the brushes for length and free movement. It’s common practice to replace the brushes alongside the AVR, especially after a high-voltage fault, since a surge from a failing AVR can damage them too.
Replacing a Portable Generator AVR
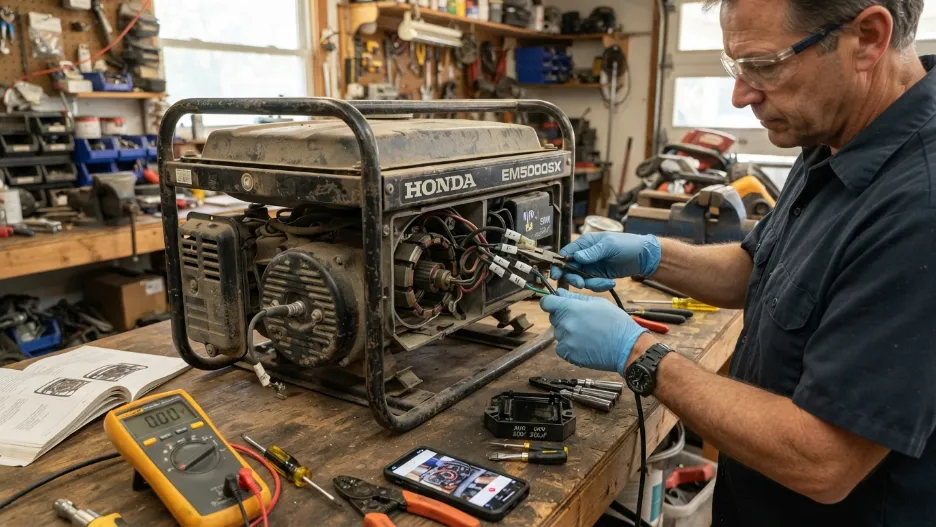
Once you’ve confirmed the AVR is at fault, replacement is usually more practical than repair on a portable unit — most modern AVRs are sealed and not user-serviceable internally.
What you’ll need
- A replacement AVR matched to your exact model and wattage — wire count and connector style vary between brands and even between wattage tiers of the same brand
- A digital multimeter
- A basic screwdriver/nut driver set (most covers use 7mm hex bolts)
- A phone camera to photograph wiring before you disconnect anything
Step 1: Access the AVR
Remove the end cover over the alternator — usually two or four bolts. The AVR is typically a kidney-shaped component held on by its own set of bolts, near where the wiring bundle enters the housing.
Step 2: Photograph and label the wiring
Before disconnecting anything, take a clear photo of every wire and its terminal. AVRs commonly use 4, 5, or 8-wire connectors depending on the alternator design, and swapping field and sensing leads on reconnection is one of the most common mistakes that causes a “new” AVR to seem dead on arrival.
Step 3: Remove the old AVR
Unbolt the module and disconnect the wiring harness. Inspect the connector pins for corrosion or heat damage while it’s out — that can point to a wiring issue rather than a pure AVR failure.
Step 4: Install the replacement
Bolt the new AVR into the same position and reconnect the wiring exactly as photographed. Double-check every connection is fully seated — a loose sensing wire alone can cause the exact same symptoms as a dead AVR.
Step 5: Test under load
Start the generator with nothing plugged in and confirm voltage reads normal. Then add load gradually — lights first, then a tool or appliance — watching for stable readings the whole way up.
What Can Go Wrong at Each Step
A few mistakes account for most failed AVR swaps:
- Wrong AVR spec. Installing a regulator rated for the wrong wattage tier or voltage/frequency of your unit will either underperform or damage the alternator.
- Mis-wired leads. Swapping the field and sensing wires is the single most common installation error and can fry the new part instantly.
- Ignoring the root cause. If worn brushes or a shorted winding caused the original failure, a new AVR will fail again — sometimes within minutes of running under load.
- Running it overloaded. Chronic overloading stresses the AVR continuously and is a leading cause of repeat failures, even with a brand-new part installed correctly.
When to Stop DIY and Call a Pro
Test and swap an AVR yourself with confidence if you’re comfortable with basic electrical work and the symptoms match a straightforward regulation issue. Hand it off to a licensed technician if you see any of the following:
- Burning smell, melted insulation, or visible scorch marks on the alternator itself, not just the AVR
- A second AVR failure shortly after replacement — that’s a strong signal of an underlying alternator or wiring fault, not a bad part
- Any doubt about wire identification on a generator you’re not familiar with
- Signs the failure happened during use with people or medical equipment connected — get it professionally verified before trusting it again
Preventing Future AVR Failures
AVRs don’t usually fail out of nowhere. Overloading, running the unit past its rated capacity, moisture intrusion, and voltage surges from restarting the engine while loads are still plugged in are the most common causes of premature failure. Unplug everything before you start or stop the generator, respect the rated wattage (not just the surge wattage), and store the unit somewhere dry between uses. A cheap inline voltage/frequency meter, if your model doesn’t already have one, will also flag drifting voltage long before it becomes a burnt-out AVR.
Since a failing regulator is also a fire and electrical safety issue, it’s worth pairing generator maintenance with basic operating safety. Portable generators produce carbon monoxide, a poison gas, so regardless of what’s going on electrically, always run one outdoors, well away from doors and windows — see the CDC’s generator safety fact sheet for the full guidelines.
Conclusion
Most AVR problems announce themselves clearly — dim or flickering lights, no output, or voltage that won’t settle down. Confirm it with a multimeter before you buy anything, since worn brushes and loose wiring mimic the same symptoms for a fraction of the cost. Once you’ve pinpointed the AVR as the cause, it’s a genuinely doable weekend repair for most homeowners. As always, when in doubt about wiring or you’re seeing repeat failures, bring in a licensed technician — Michael Turner
If your generator’s AVR is confirmed bad, having a correctly matched replacement on hand (along with a basic digital multimeter for testing) makes this a same-afternoon fix instead of a multi-day wait for parts.
Frequently Asked Questions
How do I know if my generator’s AVR is bad?
The clearest signs are an engine that runs normally but produces little or no electrical output, voltage that swings up and down under load, or appliances plugged into the generator burning out repeatedly. A multimeter check at the outlet, both with and without a load connected, will confirm it.
Can I test an AVR without a multimeter?
Not reliably. You can sometimes spot obvious failure — a burning smell, visible scorch marks, or melted wiring — by inspection alone, but confirming an intermittent or borderline AVR really requires a multimeter to check voltage under load.
How much does a replacement generator AVR cost?
Most AVRs for common portable generators in the 2kW–8kW range run $20 to $100, with universal kits often on the lower end and brand-matched OEM parts toward the higher end. Larger industrial units can run several hundred dollars.
Is it safe to run a generator with a failing AVR?
No — keep sensitive electronics unplugged and stop using the generator for anything but basic loads until you’ve diagnosed it. An AVR stuck feeding excess field current can push output well above rated voltage, which risks damaging or destroying whatever’s plugged in.
Can I install an AVR on a generator that doesn’t have one?
On most brushed portable generators, yes — universal AVR kits are widely available and can be added to units that shipped without factory voltage regulation. It’s a more involved job than a straight swap, though, since you’ll need to match the kit to your alternator’s wiring and confirm compatibility before running it.

Hi, I’m Michael Turner. I own a generator workshop in the United States and founded HomeGeneratorBlog to share practical, hands-on guidance about generator installation, maintenance, troubleshooting, safety, and backup power solutions. My goal is to help homeowners make smarter, more confident decisions through clear and reliable information




One Comment