How to Build a DIY Generator Shelter Safely
Quick Answer
Build a roof-only, open-sided shelter on a dry, level spot at least 20 feet from windows, doors, and vents, with the exhaust pointing away from the house. Size it for working room around the generator, slope the roof to shed rain, anchor it against wind, and never close in the sides while the generator is running.
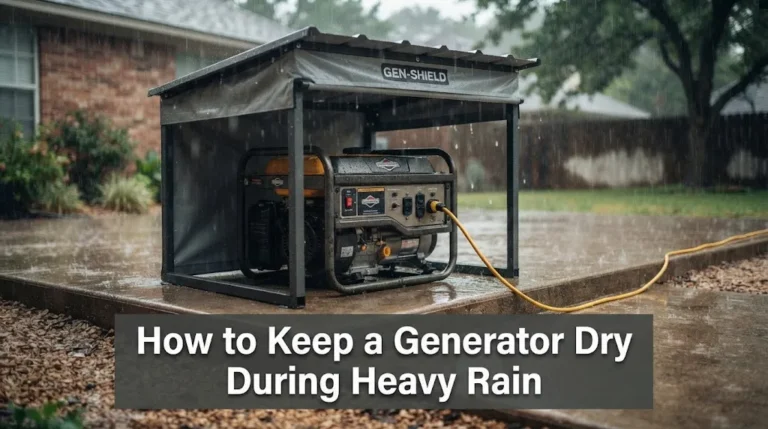
A generator shelter should solve one problem without creating a bigger one. Rain can damage outlets and controls, but a tight box can trap heat and exhaust. The safest DIY starting point is therefore not a shed. It is a sturdy roof on posts, open on the sides, far enough from the house for exhaust to disperse. This guide covers that build for a portable generator used during an outage, not a permanently installed standby unit.
Build a Roof, Not a Box
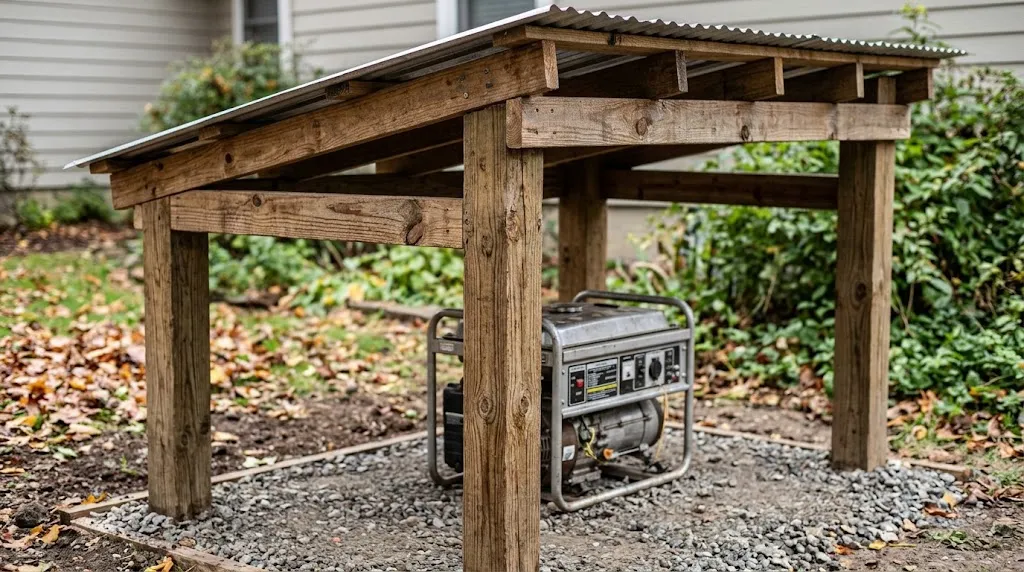
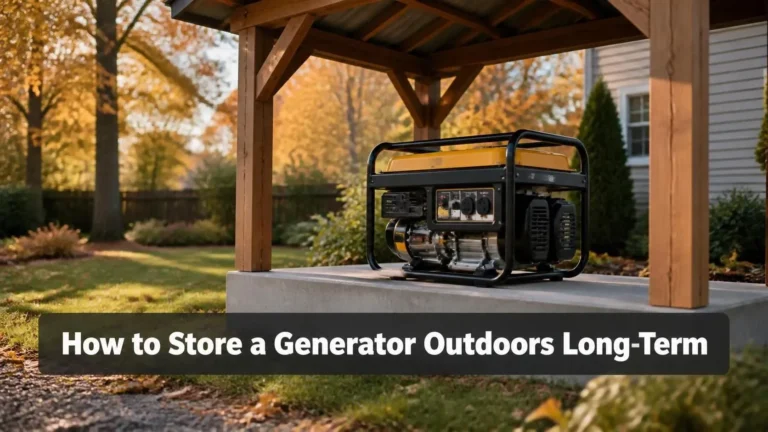
An open shelter keeps rain off the controls while air moves freely in every direction. Exhaust does not collect under it as it can inside four walls, heat can escape, and you can reach the fuel cap, oil check, starter, and outlets without reaching through a narrow door.
A closed shelter is a different project. It needs a planned air path, heat control, and exhaust routing, and getting any of those wrong can be dangerous. If you want a closed enclosure, read the guidance on how to ventilate a generator shelter before adding walls. A roof alone also does not make a bad location safe. If the spot is too close to the house, under a low deck, or in a carport, location must be fixed first.
Pick a Spot That Keeps Exhaust Away From People
Start with distance. The Centers for Disease Control and Prevention advises never using a generator inside a home, basement, or garage, or less than 20 feet from any window, door, or vent, and using a battery-powered or battery-backup carbon monoxide detector in the home. Measure from the generator itself, not from the roof edge, and count every opening, including dryer vents and air intakes.
Point the exhaust away from the house, neighboring homes, and seating areas. Wind changes, so distance matters more than a single wind reading, and corners, alcoves, and tall fences can trap a plume. Choose level, firm, dry ground: a gravel pad drains better than bare soil, and a small concrete pad is more stable. Keep the pad slightly above the surrounding ground so rain runs away from the unit. Before digging, check for buried utilities and local setback rules, and use the generator shelter clearance guide as a second check.
Warning
Never run a portable generator in a garage, basement, shed, or partially enclosed space, even with a door or window open. Carbon monoxide is colorless and odorless, and opening a door does not make an enclosed space safe. If an alarm sounds, get outside at once and call emergency services.
Size It From the Generator
Measure length, width, and height, including wheels and handles. Then add working room: at least 3 feet of clear space on the sides where you refuel, check oil, and connect cords, and enough headroom to lift the fuel cap and reach the controls without ducking.
Make the roof larger than the footprint. An overhang of about 12 inches on each side helps wind-driven rain miss the outlets, and a sloped roof sheds water instead of pooling it. As an example only, a generator about 2 feet wide and 2.5 feet long needs a roof roughly 4.5 to 5 feet wide and 5 to 5.5 feet long once working room and overhang are included. Use your own measurements for larger units, and leave the exhaust side completely open.
Materials for a Simple Open Shelter
Pressure-treated lumber resists rot where posts meet damp ground, and metal roofing sheds rain better than a flat tarp. Use exterior-rated screws and hardware, and keep flammable material well away from the muffler and exhaust outlet. Do not use foam or fabric near hot parts as a sound or weather fix.
| Part | Practical choice | Why it matters |
|---|---|---|
| Posts and frame | Pressure-treated lumber, level and braced | Stable in wind and damp ground |
| Roof | Corrugated metal or plywood with roofing | Sheds rain, does not pool |
| Base | Gravel or concrete pad, slightly raised | Level, out of standing water |
| Fasteners | Exterior screws, brackets, ground anchors | Resists rust and uplift |
Tools are basic: tape measure, level, saw, drill, and a post-hole digger if posts go in the ground.
Step-by-Step Build
Build on a dry day, before you need the generator. A half-anchored roof assembled during a storm is worse than no roof at all.
- Mark the spot. Place the generator where it will run, measure 20 feet to the nearest opening, and confirm the exhaust points away from the house.
- Prepare the base. Clear vegetation, compact gravel or set a small pad, level it both ways, and slope surrounding ground away from the pad.
- Set posts plumb and square. Dig or anchor four posts and brace them while they set, so the roof will drain evenly.
- Frame a sloped roof. Make front posts slightly shorter than back posts so rain runs away from where you stand, and add cross-bracing against sway.
- Fit the roof. Fasten from the low side upward, overlap seams with the water flow, and flash the high edge so rain cannot blow underneath onto the controls.
- Direct runoff. Overhang the roof past the frame and lead water away from the pad, cords, and outlets.
- Anchor it. Use ground anchors, footings, or pad anchors, add diagonal bracing in windy areas, and recheck after the first strong wind.
- Test it running. Run the generator briefly under load and check refueling, controls, access, and clearance from the exhaust.
If a step reveals a problem, fix the location or size now. Moving a post by a foot is easy. Moving a running generator closer to the house during an outage is the decision this build is meant to prevent.
Slope, Drainage, and Wind
A nearly flat roof holds a shallow pool that eventually finds a seam above the generator. A visible slope and an overhang do more than a thicker panel. Keep the low edge where runoff will not cross your path or soak the cord run to the house.
An open roof acts like a sail, so bracing and anchors are structural, not finishing touches. In storm areas, plan for gusts with deeper footings and diagonal braces. The guide to sheltering a portable generator from bad weather safely covers post-storm checks.
Tip
Do a dry run before an outage, while fixes are still easy.
Keep Cords Dry and the Run Safe
Use heavy-duty, outdoor-rated cords long enough to reach without pulling tight, keep connections off wet ground, and dry your hands before touching the generator or a cord. Never plug a generator into a wall outlet to feed house wiring: that backfeed can endanger utility workers. Plug appliances in directly, or use a transfer switch installed by a qualified electrician. Store fuel in approved containers away from the shelter, and let the engine cool before refueling.
Fit battery-powered or battery-backup carbon monoxide alarms, especially outside sleeping areas, and test them before storm season. An alarm is a backup, not permission to move the generator closer. If one sounds, or you feel dizzy or nauseated, leave the house and call for help rather than hunting for the source.
Mistakes That Turn a Shelter Into a Hazard
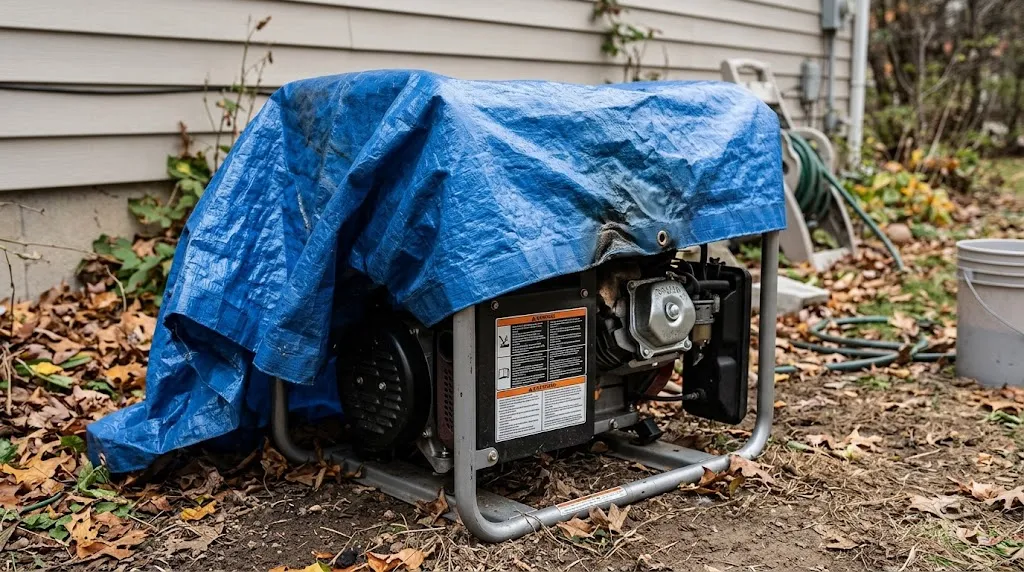
The most common mistake is closing the shelter after it is built. A wall added for wind, a tarp draped for rain, or boxes stacked to block a draft can reduce airflow and trap exhaust. A short windbreak set well away from the generator is safer than an attached wall. For rain choices, see how to protect a generator from rain rather than improvising a cover over a running unit.
Check the shelter each season, after high wind, and before a forecast outage for loose screws, a sagging roof, or a pad settled out of level. Noise is also not a reason to seal it: soft panels near a hot engine can be a fire risk. The guide to how to reduce generator noise gives safer ways to lower sound without blocking airflow.
When an Open Shelter Is Not Enough
An open shelter fits a portable generator where a full 20-foot separation is possible and the sides can stay open. It does not fit a permanently installed standby generator, a site with no safe outdoor spot, or a design that is really a shed in disguise. Those cases need the manufacturer’s instructions and often a professional installer.
If your manual gives a larger clearance, follow it. Stationary-engine rules also differ: Generac’s explanation of NFPA 37 notes a 5-foot minimum from openings and combustible walls for stationary engines, with exceptions only where tested. That is not a substitute for the 20-foot portable separation, and confusing the two is a dangerous shortcut. When in doubt, choose more distance and more open air.
Related Product
Generator Running Cover
A running cover made for use while a generator operates can be a useful stopgap for wet weather while a shelter is being built, provided it stays clear of the exhaust and allows airflow.
As an Amazon Associate, we earn from qualifying purchases.
Frequently Asked Questions
Can I build a DIY generator shelter with four walls?
You can, but it is riskier than an open shelter. A closed shelter needs planned airflow, heat control, and a safe exhaust route, and a door left ajar is not a ventilation plan. Unless you can design and test that system and follow your unit’s manual, keep the sides open while it runs.
How far should a DIY generator shelter be from the house?
Place the generator itself at least 20 feet from windows, doors, and vents, with exhaust pointing away. Measure from the generator and count every opening, including vents and air intakes that are easy to overlook.
What is the cheapest safe DIY generator shelter?
A four-post frame with a sloped metal or plywood roof on a level gravel pad is usually cheapest. It uses common lumber and roofing, needs no walls or fans, and keeps rain off while leaving airflow open. Price it for your generator’s footprint, not an example size.
Can I use a tarp as a generator shelter roof?
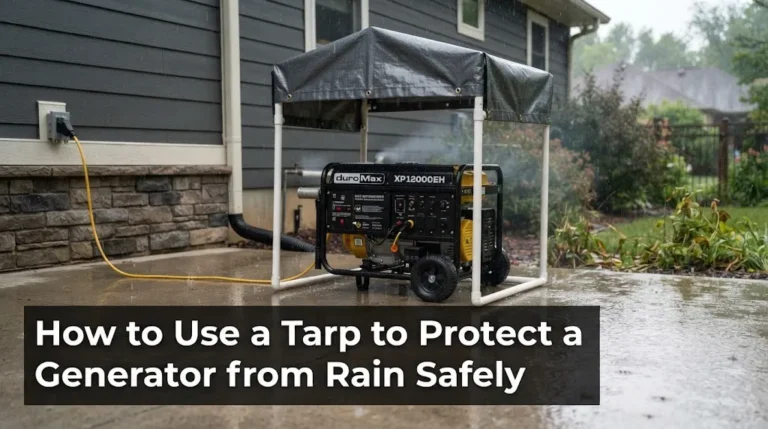
Only as a temporary, well-secured canopy held well above and clear of a running unit, never draped over it. Tarps sag, collect water, flap in wind, and can melt near hot parts. For storm use, a rigid sloped roof is safer.
Do I need a permit to build a generator shelter?
It depends on location, size, and whether it is permanent. Small temporary canopies often need no permit, while a permanent roof on footings may fall under setback or building rules. Check locally before digging footings.
How do I keep a generator shelter safe in a storm?
Anchor it beforehand, clear snow and debris from the roof, keep the exhaust path open, and inspect it after high wind. Keep cords dry, cool the engine before refueling, and if the spot becomes unsafe, stop using it there rather than moving the generator indoors.
Conclusion
The best DIY shelter is the simplest one that stays safe: a well-anchored, sloped roof on posts, open on the sides, on a level pad at least 20 feet from the house. Measure your generator, leave working room, point the exhaust away, and test it before a storm.

Hi, I’m Michael Turner. I own a generator workshop in the United States and founded HomeGeneratorBlog to share practical, hands-on guidance about generator installation, maintenance, troubleshooting, safety, and backup power solutions. My goal is to help homeowners make smarter, more confident decisions through clear and reliable information